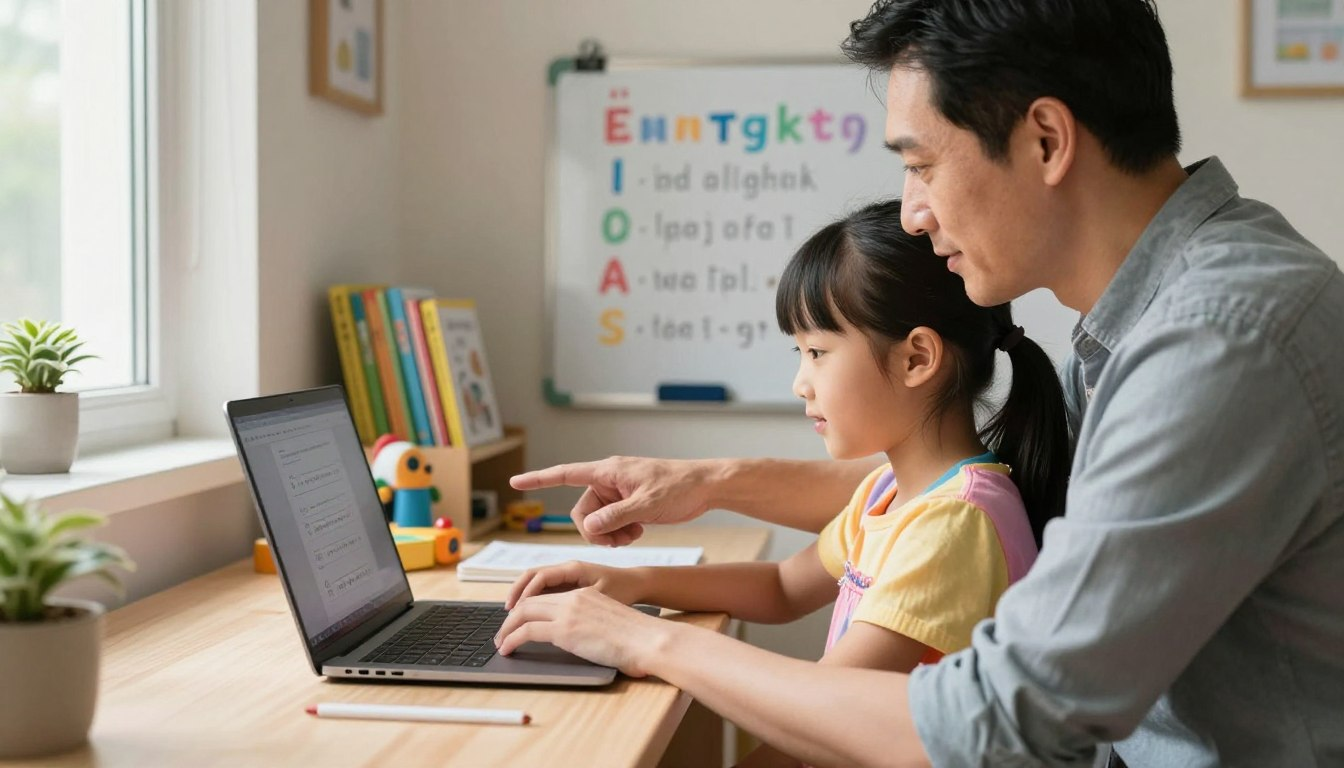
Have you ever watched your child expertly swipe through a tablet, only to freeze when faced with a physical keyboard? You aren’t alone! While many parents focus heavily on reading and math, keyboarding is a crucial skill that often gets overlooked until it becomes a frustrating roadblock during homework time.
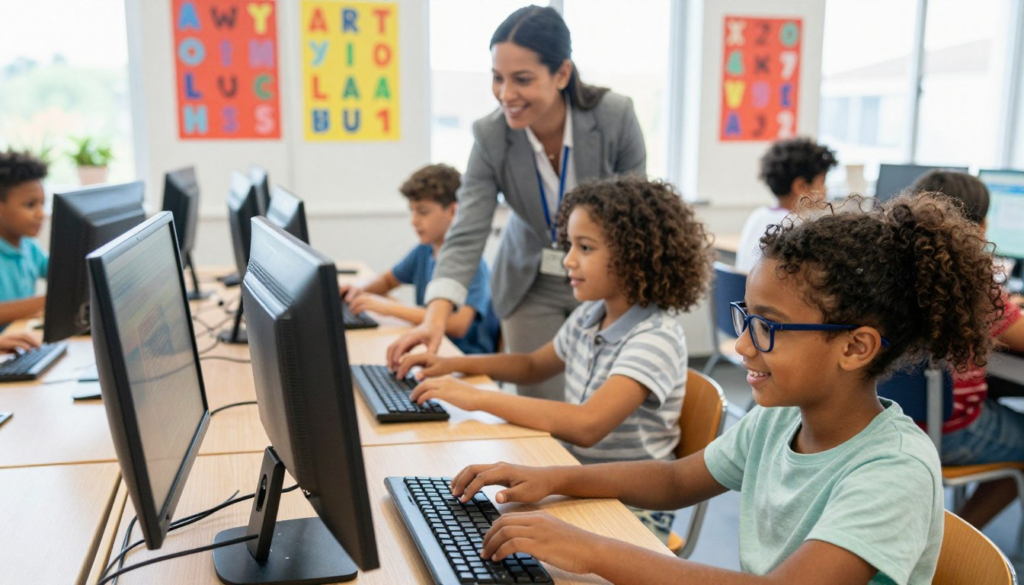
In today’s digital classroom, students are expected to type essays, take online tests, and navigate learning software. Teaching typing lessons for kids early on isn’t just about speed—it’s about removing the barrier between your child’s brilliant thoughts and the computer screen.
The good news? You don’t need to be a tech wizard to help them learn! This beginner-friendly guide will give you a simple, fun, and effective plan to help your family master the keyboard together.
🌟 Key Takeaways for Parents:
- Academic Edge: Keyboarding is a vital tool for school success and online test-taking.
- Start Early: Beginning around ages 7-8 builds long-lasting muscle memory.
- Keep it Fun: Using games and a simple plan prevents frustration and keeps kids engaged.
🚀 Why Typing Skills Matter for Your Child’s Future
Knowing how to touch-type is essentially a modern-day superpower. When a child has to hunt for every single letter, their brain uses all its energy on finding the keys rather than thinking about the topic. By mastering the keyboard, their thoughts can flow directly onto the screen.
| The Benefit | How It Helps Your Child | Long-Term Impact |
|---|---|---|
| Faster Homework | Kids finish written assignments much quicker without “hunt and peck” frustration. | More free time for play, less stress during evening homework hours. |
| Better Writing Quality | Typing allows for instant editing, deleting, and revising. | Higher grades and greater confidence in creative writing. |
| Test Performance | State standardized tests (like SBAC) are now mostly digital. | Reduced anxiety during high-pressure online exams. |
🖐️ Determining the Right Age to Start
When it comes to keyboarding, age is just a number. What really matters is your child’s physical and cognitive readiness. Most educators agree that the “sweet spot” for starting structured typing lessons for kids is between ages 7 and 9.
Physical Readiness
Are your child’s hands big enough to stretch across the keys comfortably? Can they press keys independently without mashing three buttons at once? If they have mastered fine motor skills like tying their shoes or using safety scissors, their hands are likely ready for the keyboard!
Mental Readiness
Typing requires a child to sit still and focus for 10-15 minutes at a time. They also need to know the alphabet thoroughly and be able to read basic words. If they enjoy playing simple puzzle games or building with blocks, they have the focus required for a children typing tutor program.
🪑 Preparing the “Command Center” for Success
You wouldn’t ask a child to learn to ride an adult-sized bicycle. Similarly, making a child learn to type at a desk built for a 6-foot adult is a recipe for bad habits and sore wrists! Creating an ergonomic workspace is step one.
- The 90-Degree Rule: Adjust their chair so their elbows are bent at a 90-degree angle while their fingers rest on the keys.
- Planted Feet: If their feet dangle, place a sturdy box or footrest underneath them. Grounded feet equal a steady body.
- Eye Level Screen: The top of the monitor should be right at their eye level, about 20 inches away, to prevent “tech neck.”
🗺️ How to Teach Typing: The 4-Step Parent Plan
Ready to begin? Follow this simple, stress-free progression to build their skills from the ground up.
Step 1: The “QWERTY” Tour
Before ever pressing a button, let them explore the keyboard map. Show them that the letters aren’t in ABC order (and explain why!). Play a fun game of “I Spy” by asking them to point to specific letters, the spacebar, or the shift key.
Step 2: Park on the Home Row
The secret to typing is the Home Row. Teach them to feel for the little plastic bumps on the F and J keys. Have them place their left fingers on A-S-D-F and their right fingers on J-K-L-;. Tell them this is “Home Base” where their fingers must always return.
Step 3: Map the Fingers
Next, use child-friendly typing techniques like color-coding. You can buy cheap, colorful keyboard stickers. Put a red sticker on the left index finger and red stickers on the keys it controls (R, F, V, T, G, B). This visual mapping makes learning incredibly easy.
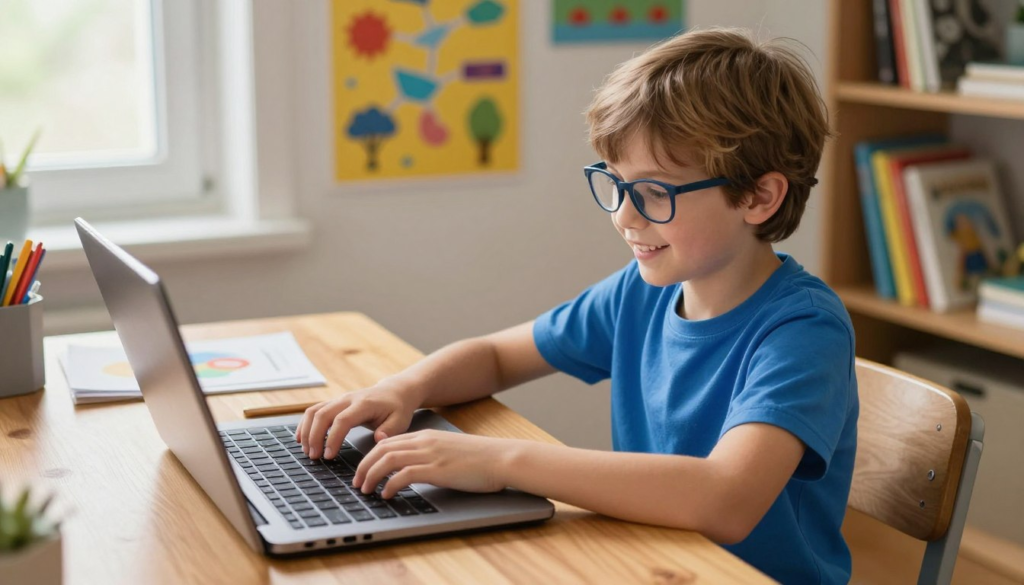
Step 4: Short, Daily Practice
Muscle memory is built through consistency, not marathon sessions. Aim for just 10 to 15 minutes a day. It is far better to practice for 10 minutes daily than for an hour once a week.
🎮 Best Typing Games and Tools for Children
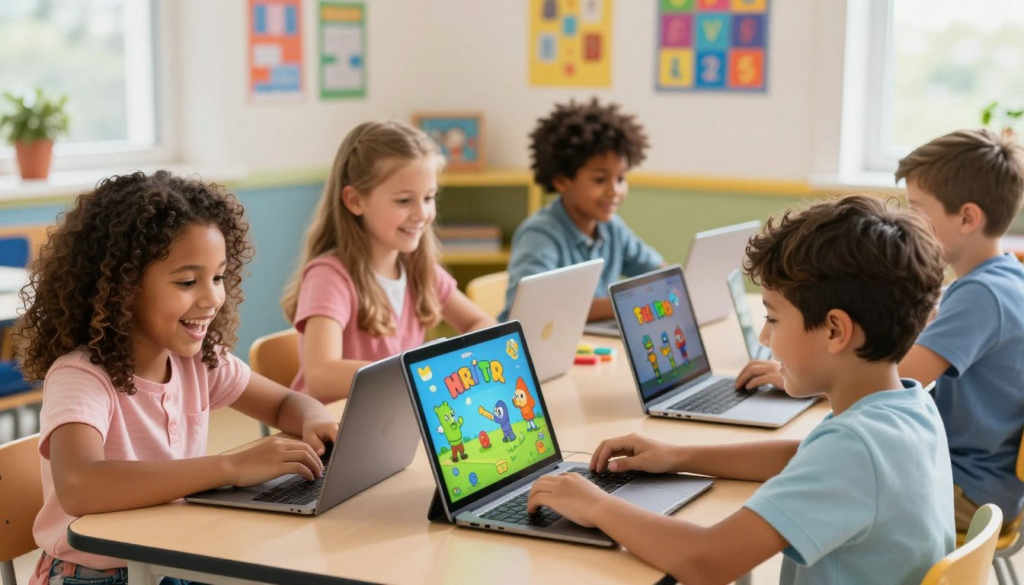
Drills can get boring quickly. Luckily, there are amazing fun typing activities for kids that turn practice into an exciting video game.
| Game/Platform | Best For… | Why Kids Love It |
|---|---|---|
| Dance Mat Typing | Ages 7-10 (Beginners) | Hilarious animated animal guides lead them through basic finger placements with catchy songs. |
| TypingClub | Ages 8+ (Structured Learning) | Badges, stars, and a clear leveling system that feels like unlocking achievements. |
| Nitro Type | Ages 10+ (Speed Building) | Kids race real digital sports cars against other players by typing sentences quickly and accurately! |
🛠️ Overcoming Common Typing Challenges
Every learner hits a bump in the road. Here is how to handle the most common typing hurdles with grace.
Breaking the “Hunt-and-Peck” Habit
If your child keeps staring at their hands and using only their pointer fingers, try the famous “Towel Trick.” Drape a light, clean dish towel over their hands and the keyboard. This forces them to rely on their muscle memory and the tactile bumps on the F and J keys.
Managing Frustration with Rewards
Typing requires immense patience. When frustration sets in, take a break! To keep motivation high, create a simple reward chart.
- Bronze Milestone (10 WPM): Pick the movie for family movie night.
- Silver Milestone (20 WPM): 30 extra minutes of weekend screen time.
- Gold Milestone (30 WPM): A special trip for ice cream!
🎉 Conclusion
Teaching your child to touch-type is one of the greatest educational gifts you can give them. By setting up an ergonomic workspace, utilizing engaging games, and sticking to short 10-minute daily sessions, they will transform from slow “peckers” to speedy digital ninjas.
Remember to celebrate the small victories, stay patient, and most importantly—keep it fun! Before you know it, their fingers will be flying across the keys.
❓ Frequently Asked Questions (FAQ)
What is the most effective way to teach typing to a child at home?
The secret is consistency. Use a mix of structured, gamified lessons (like Typing.com) and daily 10-minute practice sessions. Focus heavily on mastering the “Home Row” and using all ten fingers before worrying about speed.
Are there specific typing lessons for kids that focus on accuracy?
Yes! Excellent programs like TypingClub and TypeTastic have modules that actually freeze the screen and require the child to correct their mistake before moving on. This builds accuracy over speed.
What are the benefits of introducing keyboarding for children early?
Early keyboarding builds deep muscle memory before bad habits (like two-finger typing) form. It also allows kids to focus all their cognitive energy on their actual schoolwork, rather than the mechanical process of finding letters on a board.
Can you suggest some fun typing activities for kids beyond software?
Absolutely! Have them type out the family grocery list in a blank document, write a digital letter to their grandparents, or hold a “family typing race” where everyone tries to type a funny joke as fast as they can.
What are some child-friendly typing techniques to prevent “looking” at the keys?
Besides the “towel trick,” you can buy inexpensive, blank silicone keyboard covers that hide the letters. Alternatively, place small, textured stickers on keys they struggle with so they can find them by touch instead of sight.