Children who learn to type with one or two fingers often reach a speed that feels fine for short messages — until they need to write a full school assignment, and the slowness becomes a real problem. The habit of hunting for each key also becomes harder to break the longer it goes uncorrected. Teaching the home row position early, before single-finger typing gets too ingrained, makes every typing task easier from that point forward.
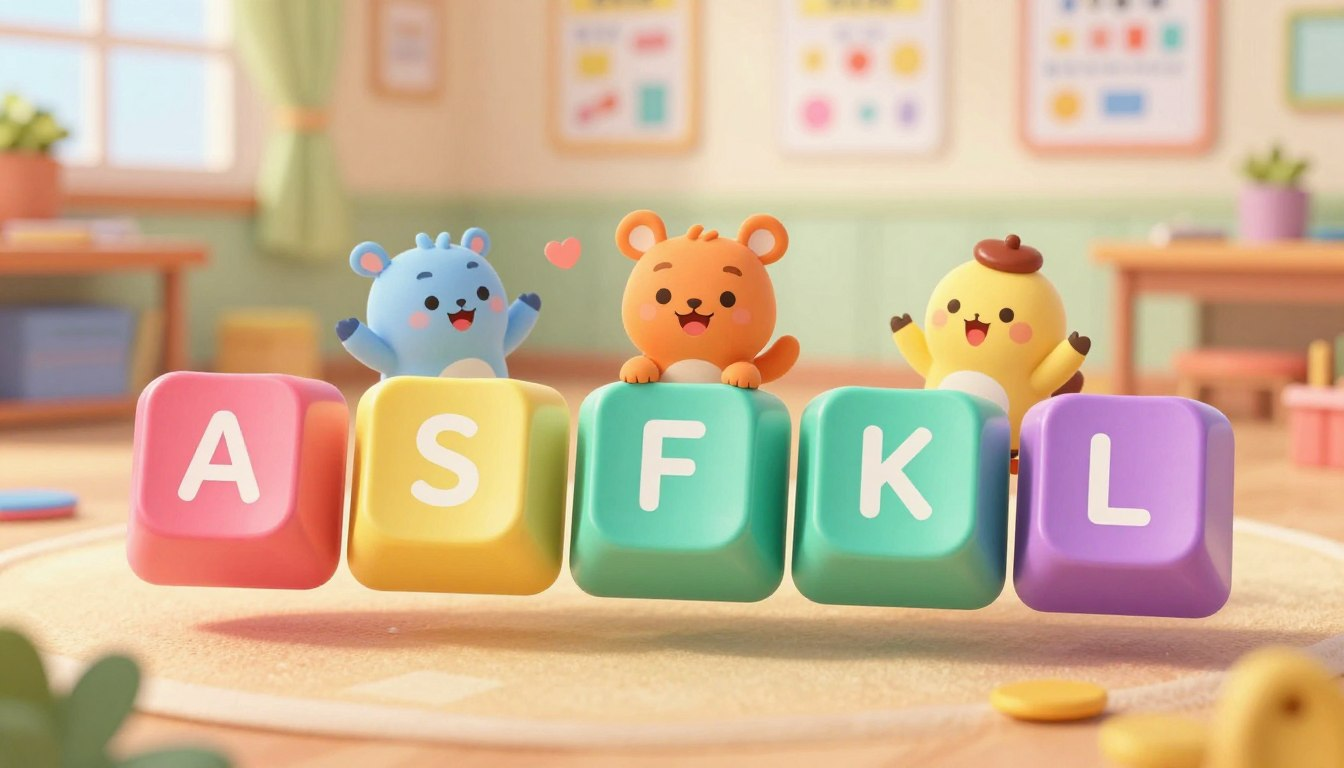
The home row is the middle row of the keyboard: A S D F for the left hand, and J K L ; for the right. These eight keys are where all fingers rest between keystrokes. Learning this position — and the habit of returning to it after every key — is what eventually makes it possible to type without looking at the hands at all.
The goal for early typing practice is correct finger placement, not speed. Many children get impatient when they type more slowly using all their fingers than they did pecking with one. Reassure your child that this slower, accurate stage is exactly how typing skill develops — the speed follows naturally once the positions become automatic. Keep sessions to five or ten minutes and stop before frustration builds. Consistent short practice over several weeks produces far better results than one long session.
What the Home Row Is
Look at the middle row of a standard keyboard. Starting from the left: A, S, D, F — and on the right side: J, K, L, and the semicolon (;). These are the eight home row keys. The G and H keys sit in the middle of the row but are reached by stretching the index fingers slightly, so they are not part of the resting position.
Every other key on the keyboard is one or two stretches away from this row. When a finger reaches up to press T or down to press N, it returns immediately to its home key. This is what keeps the hands oriented without needing to look down — the fingers always know where they are because they keep coming back to the same place.
Once your child understands the home row, you can set realistic practice goals with our guide on typing speed goals for kids by age.
Posture and Setup Before Starting
Getting the setup right matters, particularly for younger children whose proportions relative to a desk and chair vary more than adults. Check these points before the first session.
- Feet resting flat on the floor or on a footrest — not dangling mid-air
- Elbows roughly level with the keyboard, so the wrists are not bent sharply up or drooping down
- The screen at or just below eye level — head tilted slightly down is fine, but not steeply
- Wrists hovering lightly, not pressing heavily on the desk while typing
For many children using a standard dining chair and table, a folded cushion on the seat or a keyboard placed on a lower surface achieves a better fit. It is worth checking once before assuming the setup is fine.
Finger Placement: Where Each Finger Rests
Finding the Starting Position
Before looking at the keyboard, have your child run their index fingers slowly across the F and J keys. Both have a small raised bump or ridge — a standard feature on nearly all keyboards, placed there so typists can locate the home row by feel alone. Once your child can identify those bumps reliably, they have their anchor points and can place the other fingers without looking.
Left Hand
- Index finger on F (the key with the bump)
- Middle finger on D
- Ring finger on S
- Pinky on A
Right Hand
- Index finger on J (the key with the bump)
- Middle finger on K
- Ring finger on L
- Pinky on ; (semicolon)
- Both thumbs resting lightly on the Spacebar
Fingers should curve gently downward with the fingertips — not the flat pads — touching the keys lightly. Hands should feel relaxed. Gripping or pressing down with tension tires the hands quickly and makes the movements less precise, not more.
Returning Home After Every Key
The habit that matters most — more than placement itself — is returning each finger to its home key immediately after pressing another key. When the index finger stretches up to reach T, it comes back to F straight away. When the middle finger drops to press C, it returns to D. This is the one pattern to reinforce consistently in every practice session, because it is what makes navigation automatic over time.
Accuracy Before Speed
In the first sessions, the only measure that matters is whether each finger is pressing its assigned key. Not how quickly. Ask your child to type the home row letters in sequence — a s d f space j k l ; — slowly and deliberately, one finger at a time, then reverse it. The point is for the movement pattern to start feeling predictable, not for it to feel fast.
Looking at the keyboard is natural at first and not worth making a big issue of in the very first session. After a few practice rounds, gently encourage looking at the screen instead of the hands. If the habit of looking down persists after a week or two, draping a light cloth over the keyboard and hands removes the visual temptation and prompts the fingers to navigate by feel. This is not about making it harder — it is about shifting the learning from sight to touch, which is where it eventually needs to live.
Typing practice also helps with school writing. For a practical school task, see our guide on Google Docs for kids.
Try This at Home: Home Row Word Practice
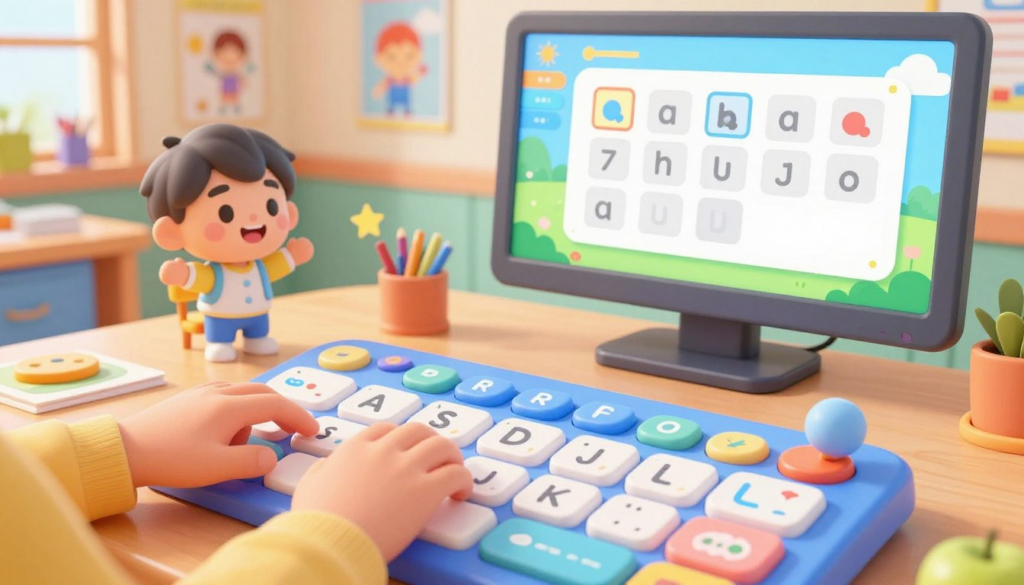
Open a blank document — Notepad, Google Docs, or any text editor — and have your child type the following words slowly, one at a time, pressing each key with the correct assigned finger. All of these words use only the letters A, S, D, F, J, K, and L:
- dad
- sad
- ask
- fall
- salad
- flask
- lads
- flask
Type each word three times, with a space between repetitions. Do not correct spelling errors mid-word — finish the word, then move on. The goal is building the movement pattern, not producing a clean document. After two or three sessions with this list, the finger movements for these words will start to feel less like conscious decisions and more like reflex. That shift — however small — is genuine muscle memory beginning to form.
A Simple Daily Practice Routine
Five to ten minutes of daily practice, four or five days a week, produces better results than longer, less frequent sessions. The hands need repetition distributed over time to build reliable memory — one concentrated hour does not substitute for a week of short sessions.
- Close eyes, find the F and J bumps, place all fingers on home row.
- Type the home row sequence slowly: a s d f space j k l ;
- Type five words from the practice list above.
- Type two or three short sentences from any source — a homework sentence, a book title, anything — focusing on returning fingers home after each key.
- Stop. No saving required.
Common Mistakes to Avoid
- Using the nearest finger instead of the correct one. If the index finger stretches to press S because it is faster, the positioning system breaks down. In early practice, use the correct finger even when it feels slower.
- Not returning to home row between keystrokes. Fingers that wander without resetting lose their orientation. Returning home after every single key — even during slow practice — is what builds the automatic navigation that touch typing depends on.
- Pressing wrists down heavily on the desk while typing. This restricts finger movement and strains the wrist over time. Wrists should hover or rest very lightly, not bear weight.
- Looking at the keyboard throughout practice. Occasional glances in the early days are normal and fine. A persistent habit of looking down prevents the fingers from learning to navigate by feel, which is the whole point of the home row system.
- Rushing to go faster before placement is solid. Speed that comes from inconsistent finger use does not carry forward into real typing improvement. A child who types slowly with correct placement usually builds a stronger foundation than a child who types faster but uses random fingers.
Parent Checklist
- Can your child locate the F and J bumps without looking at the keyboard?
- Can they place all eight fingers on the correct home row keys from memory?
- Are they pressing each key with its assigned finger — not the nearest one?
- Are they looking at the screen rather than their hands during practice?
- Do fingers return to the home row after reaching other keys?
- Is posture comfortable — feet supported, wrists not straining?
- Can they type the practice word list at a slow, steady pace with correct placement?
Frequently Asked Questions
What age is appropriate to start?
Most children are ready around ages 7 to 9, when fine motor control is developed enough for independent finger movements and hands are large enough to span the keyboard without straining. Some children start earlier with no difficulty — readiness varies. If a child’s fingers cannot reach the keys comfortably, it is better to wait a few months than to develop compensating habits to work around the size difference.
How long before a child can type without looking at the keyboard?
With consistent short practice, many beginners start placing their hands correctly without looking after a few weeks. Typing full sentences without looking — genuine touch typing — usually develops gradually over several months. Progress is gradual and uneven, with occasional sessions that feel like regression before improvement resumes. This is normal.
My child keeps drifting to the wrong keys. What helps?
Have them check the F and J bumps and reset their placement at the start of every word during practice — not just at the start of the session. If drift continues, slow the practice down further and call out the correct finger name before each key: “left ring finger for S.” That verbal reinforcement helps anchor the connection between finger and key before the movement becomes automatic.
Should I use a typing app alongside this practice?
Typing programs can be a useful supplement once home row placement feels reasonably solid — usually after a week or two of manual practice. The benefit of starting with the manual approach described here is that you can observe your child’s finger placement directly, which apps cannot do. An app that counts words per minute is not useful if the fingers are not correctly positioned to begin with.
The home row is a small thing to learn that pays off across every year of school that follows. Children who build this habit early stop thinking about where the keys are — the typing just happens, and they can focus on what they are actually writing.